
Fig bars are a delightful fusion of wholesome ingredients and irresistible flavor that will make your taste buds dance! Imagine a chewy, sweet crust made from oats and almond flour, enveloping a luscious filling of ripe figs, honey, and a hint of cinnamon. These bars are not just a snack; they’re a warm hug in every bite, perfect for a midday pick-me-up or a post-workout treat. With each mouthful, you’ll savor the natural sweetness and the satisfying texture, making fig bars your new favorite guilt-free indulgence!
Table of Contents
Why You’ll Love This Recipe
- Deliciously sweet and chewy, perfect for satisfying your cravings.
- Made with wholesome ingredients, so you can indulge guilt-free.
- Easy to make at home, saving you time and money.
- Great for on-the-go snacking or a healthy dessert option.
- Customizable with your favorite nuts or seeds for added crunch!
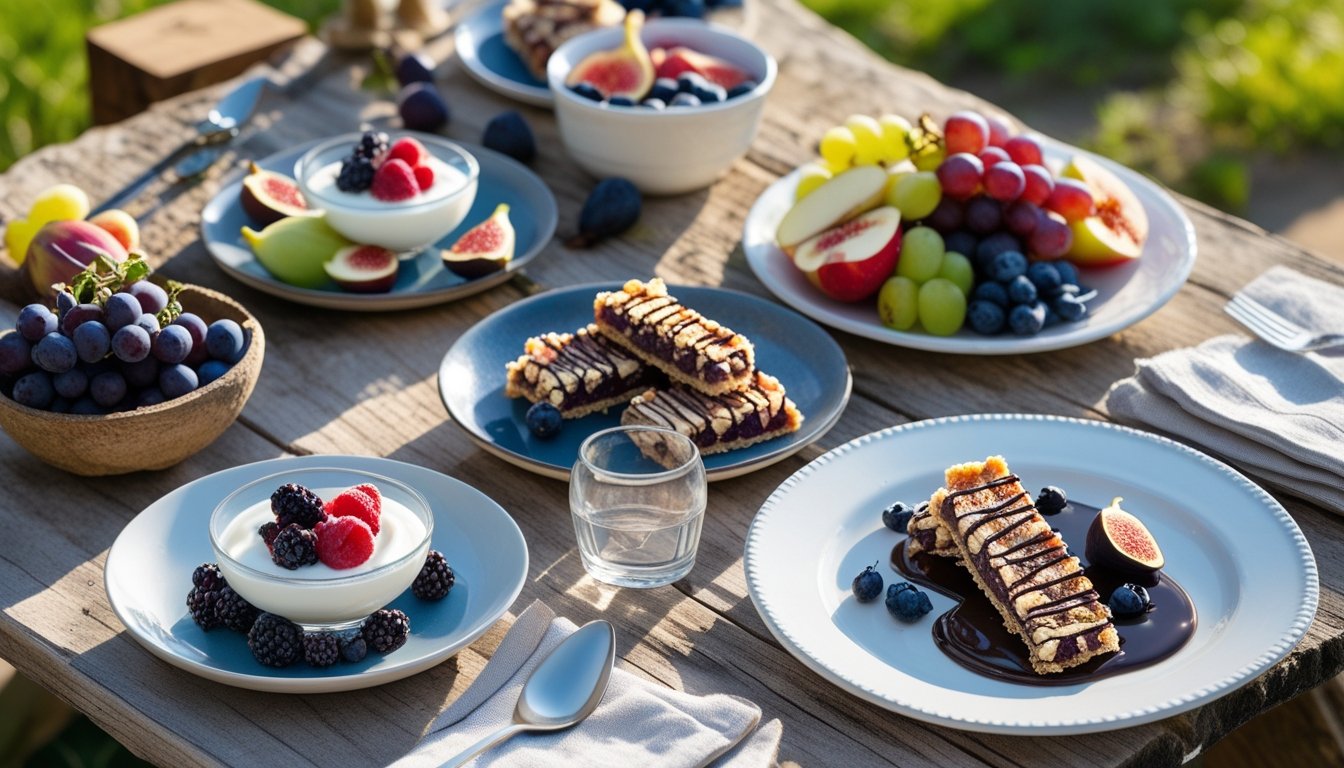
fig bars
Ingredients
Equipment
Method
- Gather all your ingredients: dried figs, oats, almond flour, honey, coconut oil, and a pinch of salt.
- Preheat your oven to 350°F (175°C) to get it nice and warm for baking.
- Chop the dried figs into small pieces and place them in a saucepan with a splash of water. Cook on low heat until they soften.
- In a bowl, mix oats, almond flour, melted coconut oil, honey, and salt until crumbly.
- Press half of the crust mixture into a lined baking dish. Spread the fig filling evenly on top, then sprinkle the remaining crust mixture over it.
- Place the dish in the oven and bake for about 25-30 minutes, or until golden brown.
- Let the bars cool completely before slicing them into squares. Enjoy your homemade fig bars!
Notes
| Nutrient | Amount |
|---|---|
| Calories | 150 |
| Fat | 5g |
| Protein | 3g |
| Carbs | 25g |
Recipe Snapshot
| Feature | Details |
|---|---|
| Category: | Snack |
| Cuisine: | American |
| Prep Time: | 15 minutes |
| Cook Time: | 25 minutes |
| Total Time: | 40 minutes |
| Dietary: | Vegan, Gluten-Free |
| Serves: | 12 bars |
| Best Served: | Room temperature |
Ingredients
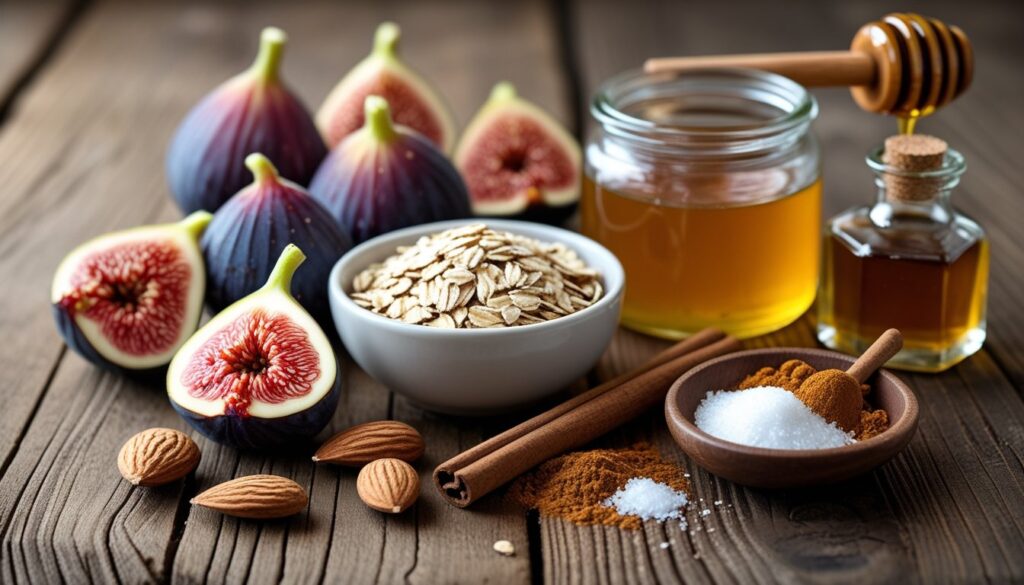
- Figs – a natural sweetener packed with fiber and nutrients.
- Oats – provide a hearty base and add wholesome texture.
- Almonds – offer healthy fats and a delightful crunch.
- Honey – a natural sweetener that enhances flavor and binds ingredients.
- Cinnamon – adds warmth and depth to the flavor profile.
- Salt – balances sweetness and enhances overall taste.
- Vanilla extract – infuses a lovely aroma and flavor.
Ingredients with measurements will be right under the article in the recipe card.
How to Make the Recipe
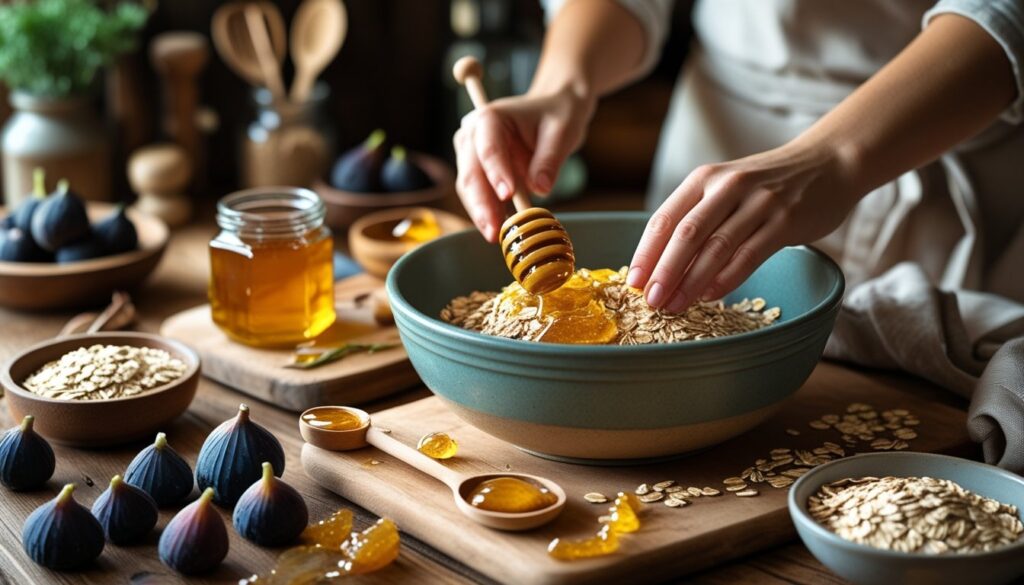
Get ready to whip up some delicious fig bars! Follow these simple steps for a treat that’s both healthy and satisfying.
Step 1: Gather Your Ingredients
Collect all your ingredients: dried figs, oats, almond flour, honey, coconut oil, and a pinch of salt.
Step 2: Preheat the Oven
Preheat your oven to 350°F (175°C) to get it nice and warm for baking.
Step 3: Prepare the Fig Filling
Chop the dried figs into small pieces and place them in a saucepan with a splash of water. Cook on low heat until they soften.
Step 4: Make the Crust Mixture
In a bowl, mix oats, almond flour, melted coconut oil, honey, and salt until crumbly.
Step 5: Assemble the Bars
Press half of the crust mixture into a lined baking dish. Spread the fig filling evenly on top, then sprinkle the remaining crust mixture over it.
Step 6: Bake to Perfection
Place the dish in the oven and bake for about 25-30 minutes, or until golden brown.
Step 7: Cool and Cut
Let the bars cool completely before slicing them into squares. Enjoy your homemade fig bars!
Pro Tips for Making the Recipe
Use fresh figs for the best flavor and texture. Experiment with different nut butters for a unique twist. Add a pinch of cinnamon for extra warmth and depth. Let the bars cool completely before slicing for cleaner edges. Store in an airtight container to keep them fresh longer.
How to Serve

- Enjoy fig bars as a quick breakfast on the go.
- Pair with a dollop of Greek yogurt for a protein boost.
- Serve with fresh fruit for a colorful snack platter.
- Crush and sprinkle over oatmeal or smoothie bowls.
- Dip in dark chocolate for an indulgent treat.
- Pack in lunchboxes for a sweet surprise.
- Top with nut butter for an extra layer of flavor.
- Enjoy with a cup of herbal tea for a cozy afternoon snack.
- Use as a base for mini desserts with whipped cream.
- Share with friends during a picnic for a delightful treat.
Make Ahead and Storage

Storing Leftovers
• Allow fig bars to cool completely before storing.
• Place them in an airtight container.
• Store at room temperature for up to 3 days.
• For longer freshness, refrigerate for up to a week.
Freezing
• Wrap each fig bar individually in plastic wrap.
• Place wrapped bars in a freezer-safe bag.
• Label with the date for easy tracking.
• Freeze for up to 3 months for best quality.
Reheating
• Thaw frozen fig bars in the refrigerator overnight.
• Reheat in a toaster oven at 350°F for 5-7 minutes.
• Alternatively, microwave for 15-20 seconds for a quick warm-up.
• Enjoy warm for the best texture and flavor.
FAQs
What are fig bars made of?
Fig bars are typically made from a blend of whole wheat flour, oats, and dried figs. They often include natural sweeteners like honey or maple syrup, along with spices for flavor. You can customize them with nuts or seeds for added texture!
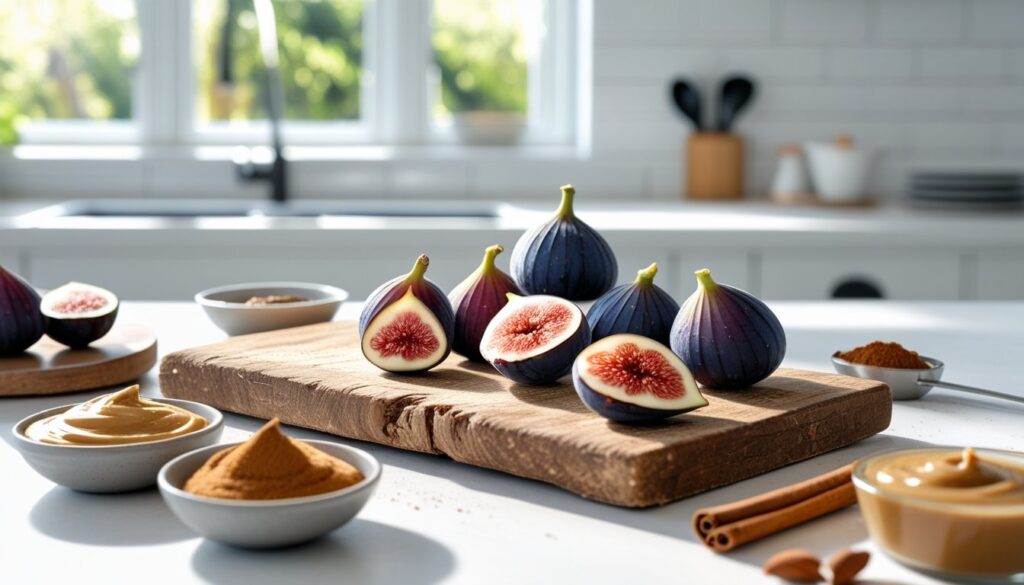
Can I use fresh figs instead of dried figs?
Yes, you can use fresh figs, but keep in mind that they have a higher water content. You may need to adjust the recipe by reducing other liquids or cooking the figs down to a thicker consistency before using them in the bars.
How do I store homemade fig bars?
Store your homemade fig bars in an airtight container at room temperature for up to a week. For longer storage, you can refrigerate them or freeze them for up to three months. Just make sure to wrap them well to prevent freezer burn!
Can I make fig bars gluten-free?
Absolutely! You can substitute whole wheat flour with a gluten-free flour blend or almond flour. Just ensure that all other ingredients, like oats, are certified gluten-free to keep your fig bars safe for those with gluten sensitivities.
Final Thoughts
So there you have it—delicious fig bars that are not just a treat but a delightful journey back to simpler times! Whip up a batch, share them with friends, or savor them all by yourself. The best part? They’re super easy to make and oh-so-rewarding. Enjoy every bite, and let the sweet, fruity goodness bring a smile to your face. Happy baking!
Hungry for more delicious creations? Browse our site for more recipes and endless inspiration to spark your next culinary adventure!