
Tuna helper is the cozy dish that brings warmth to your kitchen and smiles to your table! Imagine tender pasta enveloped in a creamy, dreamy sauce, perfectly complemented by flaky tuna and vibrant veggies. This delightful one-pan wonder is not just quick to whip up but also bursting with flavor, thanks to a sprinkle of zesty lemon juice and a dash of garlic powder. It’s the kind of meal that wraps you in a comforting hug, making it ideal for busy weeknights or lazy weekends. Dive in and savor every bite!
Table of Contents
Why You’ll Love This Recipe
- It’s a quick and easy meal that’s perfect for busy weeknights.
- Comforting flavors that remind you of home-cooked meals.
- Versatile ingredients that you can customize to your taste.
- Nutritious and filling, making it a great option for the whole family.
- Budget-friendly, using pantry staples you likely already have.
tuna helper
Ingredients
Equipment
Method
- Collect 2 cans of tuna, 1 cup of pasta, 1 can of cream of mushroom soup, 1 cup of milk, 1 cup of frozen peas, and some shredded cheese.
- Bring a pot of salted water to a boil. Add the pasta and cook according to package instructions until al dente. Drain and set aside.
- In a large mixing bowl, combine the cream of mushroom soup and milk. Stir until smooth and creamy.
- Add the drained tuna, cooked pasta, and frozen peas to the sauce mixture. Stir gently to combine all the ingredients.
- Transfer the mixture to a skillet over medium heat. Cook for about 5-7 minutes, stirring occasionally, until everything is heated through.
- Sprinkle the shredded cheese on top. Cover the skillet and let it melt for a couple of minutes.
- Once the cheese is melted, serve your Tuna Helper hot. Enjoy every comforting bite!
Recipe Snapshot
| Feature | Details |
|---|---|
| Category: | Main Dish |
| Cuisine: | American |
| Prep Time: | 10 minutes |
| Cook Time: | 20 minutes |
| Total Time: | 30 minutes |
| Dietary: | Nut-Free |
| Serves: | 4 |
| Best Served: | With a side salad |
Ingredients
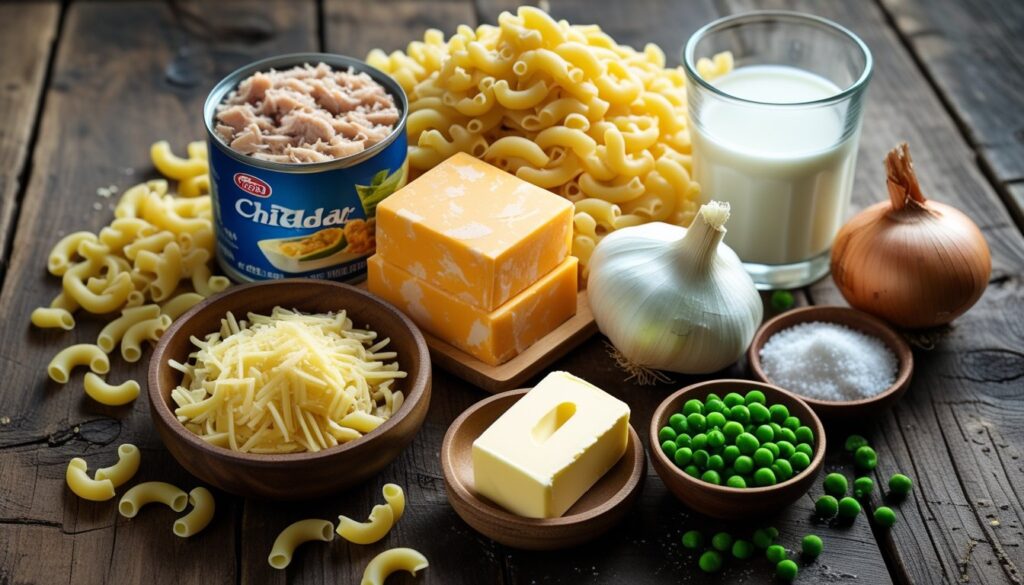
- Tuna – a protein-packed star of the dish, use canned or fresh.
- Pasta – the perfect base, choose your favorite shape.
- Cheddar cheese – adds creamy richness, opt for sharp for more flavor.
- Milk – helps create a creamy sauce, use whole or low-fat.
- Butter – enhances flavor and richness, unsalted is best for control.
- Onion – adds depth and sweetness, sauté for best results.
- Garlic – brings aromatic goodness, fresh or powdered works well.
- Frozen peas – a pop of color and sweetness, no need to thaw.
- Salt – essential for flavor, adjust to taste.
- Pepper – adds a hint of spice, freshly ground is ideal.
Ingredients with measurements will be right under the article in the recipe card.
How to Make the Recipe
Get ready to whip up a delicious Tuna Helper that will warm your heart and fill your belly!
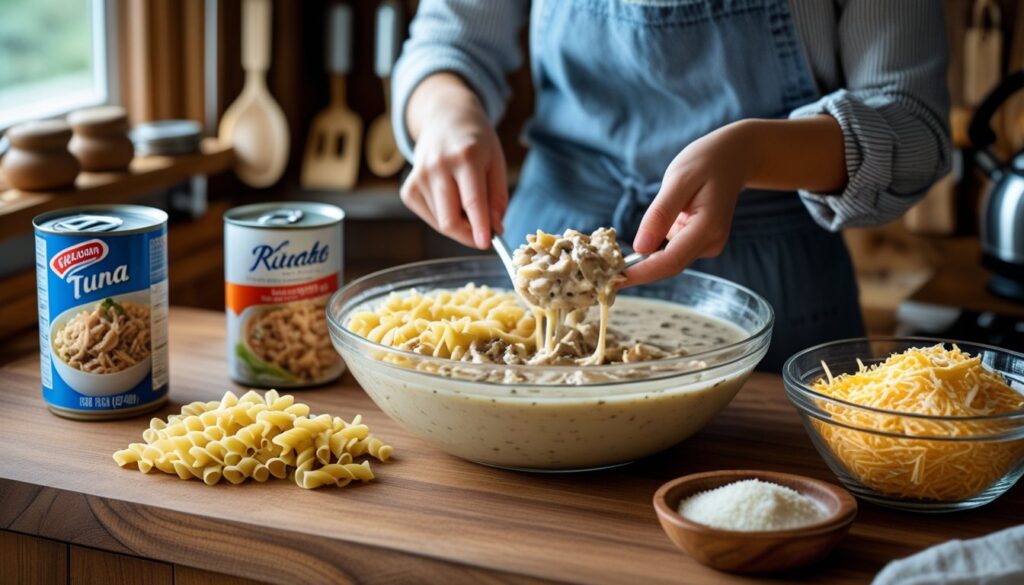
Step 1: Gather Your Ingredients
Collect 2 cans of tuna, 1 cup of pasta, 1 can of cream of mushroom soup, 1 cup of milk, 1 cup of frozen peas, and some shredded cheese.
Step 2: Cook the Pasta
Bring a pot of salted water to a boil. Add the pasta and cook according to package instructions until al dente. Drain and set aside.
Step 3: Mix the Sauce
In a large mixing bowl, combine the cream of mushroom soup and milk. Stir until smooth and creamy.
Step 4: Combine Ingredients
Add the drained tuna, cooked pasta, and frozen peas to the sauce mixture. Stir gently to combine all the ingredients.
Step 5: Heat It Up
Transfer the mixture to a skillet over medium heat. Cook for about 5-7 minutes, stirring occasionally, until everything is heated through.
Step 6: Add Cheese
Sprinkle the shredded cheese on top. Cover the skillet and let it melt for a couple of minutes.
Step 7: Serve and Enjoy
Once the cheese is melted, serve your Tuna Helper hot. Enjoy every comforting bite!
Pro Tips for Making the Recipe
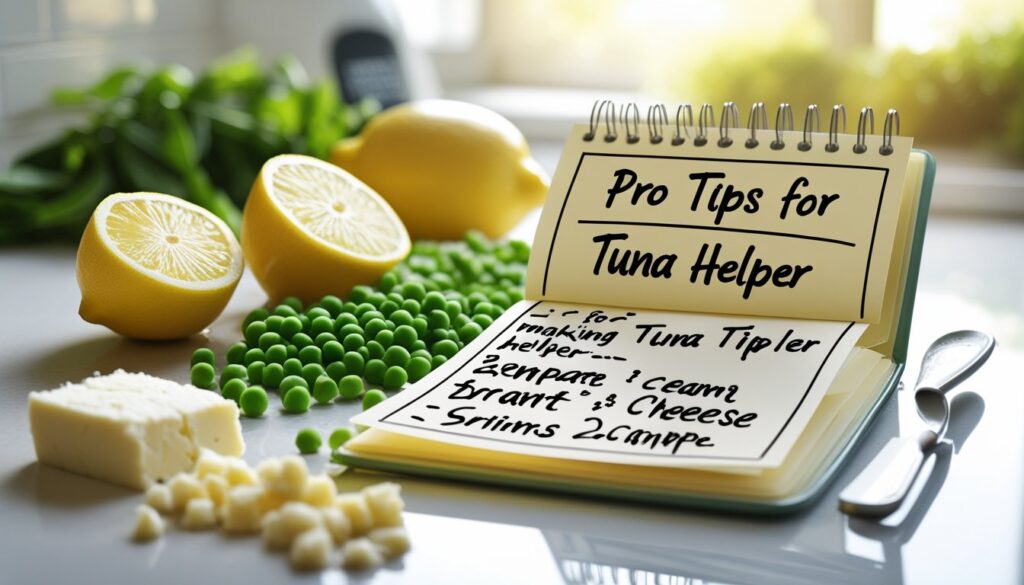
• Use canned tuna in water for a lighter dish.
• Add a splash of lemon juice for a fresh zing.
• Incorporate frozen peas for a pop of color and nutrition.
• Experiment with different cheese types for unique flavors.
• Serve with a side salad for a balanced meal.
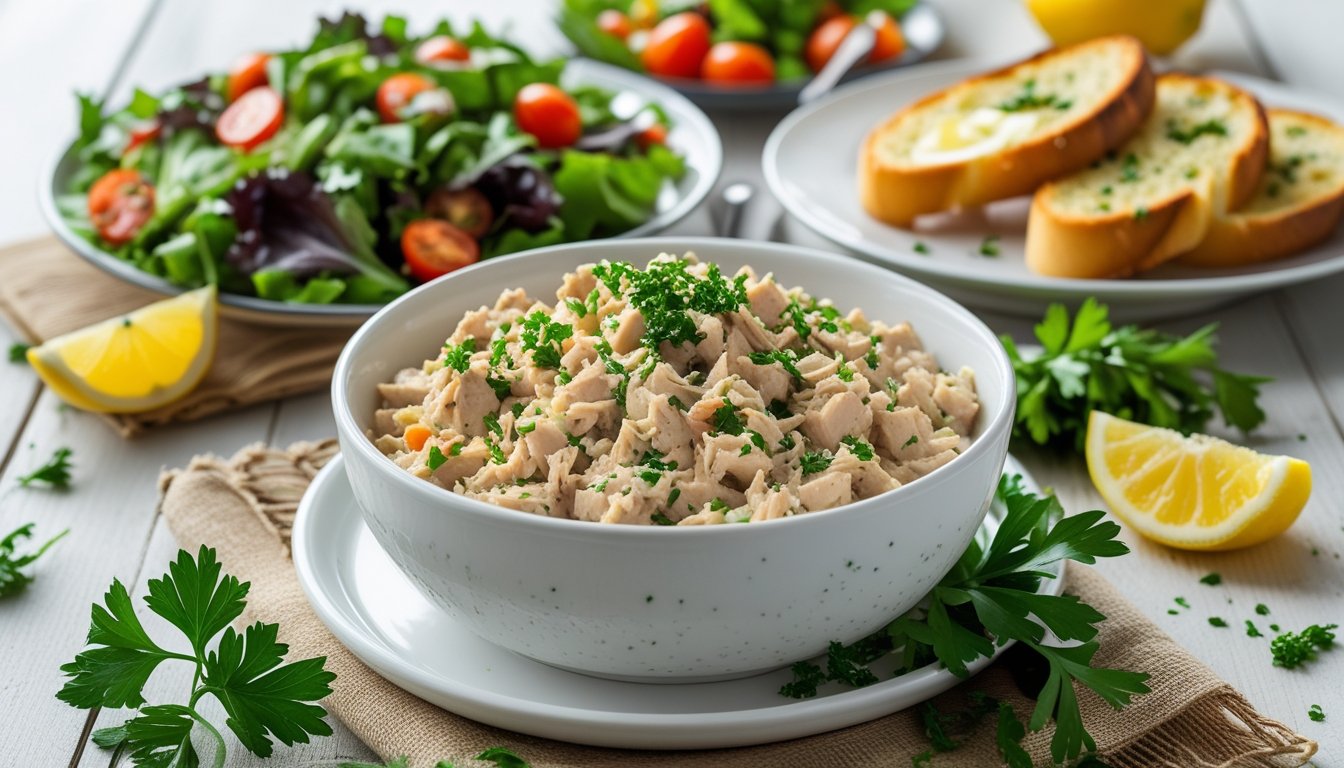
How to Serve

Enjoy your Tuna Helper with these delightful serving suggestions:
- Top with crispy breadcrumbs for added crunch.
- Serve alongside a fresh garden salad for a refreshing contrast.
- Pair with steamed broccoli or green beans for a nutritious boost.
- Offer a side of garlic bread to soak up the creamy sauce.
- Garnish with fresh herbs like parsley or dill for a pop of color.
- For a fun twist, serve in hollowed-out bell peppers.
- Accompany with a zesty lemon wedge to brighten the flavors.
- Try it with a side of creamy coleslaw for a classic combo.
Make Ahead and Storage
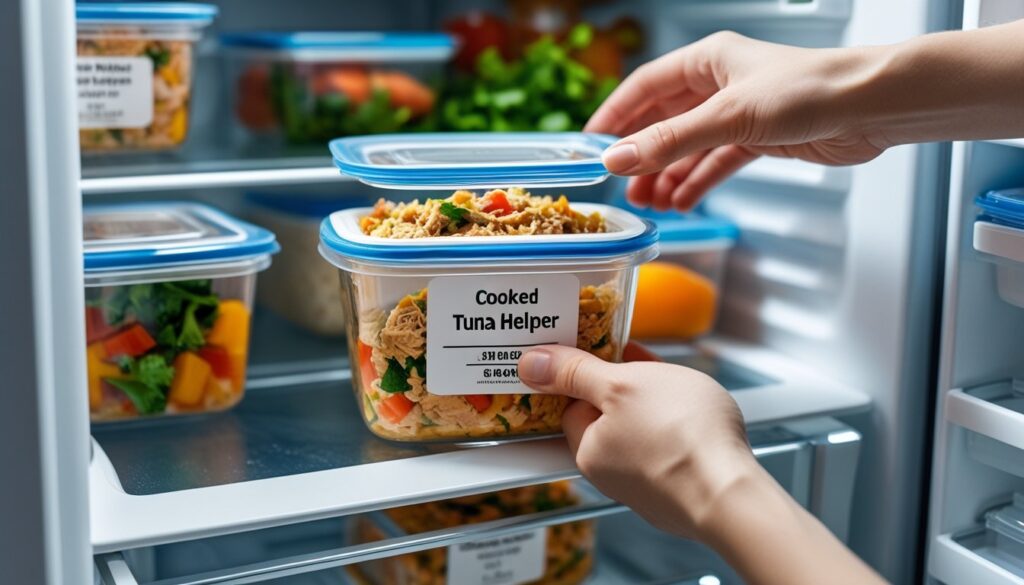
Storing leftovers properly ensures you can enjoy your Tuna Helper later without losing flavor.
Storing Leftovers
• Allow the dish to cool completely before storing.
• Transfer to an airtight container.
• Store in the refrigerator for up to 3 days.
• Label with the date for easy tracking.
Freezing
• Portion the Tuna Helper into freezer-safe containers.
• Leave some space at the top for expansion.
• Seal tightly to prevent freezer burn.
• Freeze for up to 2 months for best quality.
Reheating
• Thaw in the refrigerator overnight before reheating.
• Reheat on the stovetop over low heat, stirring occasionally.
• Add a splash of water or broth to maintain moisture.
• Microwave in short intervals, stirring in between, until heated through.
FAQs
What can I use instead of tuna in Tuna Helper?
If you’re not a fan of tuna or want to try something different, you can substitute canned chicken or chickpeas for a vegetarian option. Both alternatives will provide a hearty texture and absorb the flavors of the dish beautifully.
Can I make Tuna Helper ahead of time?
Absolutely! You can prepare Tuna Helper in advance and store it in the refrigerator for up to three days. Just reheat it on the stove or in the microwave, adding a splash of water or broth to keep it moist.
How can I make Tuna Helper healthier?
To make your Tuna Helper healthier, consider using whole grain pasta and adding more vegetables like spinach, bell peppers, or peas. This not only boosts the nutritional value but also adds vibrant colors and flavors to your dish!
What sides pair well with Tuna Helper?
Tuna Helper is delicious on its own, but you can enhance your meal by serving it with a fresh green salad or steamed vegetables. These sides complement the creamy texture and add a refreshing crunch to your plate.
Final Thoughts
There you have it—your new go-to comfort food, Tuna Helper! It’s simple, satisfying, and oh-so-delicious. Whether you’re reminiscing about family dinners or just need a quick meal, this dish is sure to bring a smile to your face. So grab your ingredients, whip it up, and enjoy every bite. Trust me, you’ll be glad you did! Happy cooking!
Hungry for more delicious creations? Browse our site for more recipes and endless inspiration to spark your next culinary adventure!