
Sliced cheese is your ticket to a world of gooey goodness! Imagine layering creamy, melty slices of your favorite cheese on a warm, toasted baguette, topped with ripe tomatoes and fresh basil for a delightful caprese twist. Or picture a gooey grilled cheese sandwich, where each bite reveals a symphony of flavors as the cheese stretches and pulls. Whether you’re crafting a quick snack or an impressive appetizer, sliced cheese transforms ordinary moments into extraordinary culinary experiences. Get ready to indulge in the delightful meltiness that only sliced cheese can bring!
Table of Contents
Why You’ll Love This Recipe
- Perfectly melty and gooey every time.
- Versatile for sandwiches, snacks, or gourmet dishes.
- Quick and easy to prepare, saving you time.
- Kid-friendly and a hit at parties.
- Made with quality ingredients for a delicious taste.
sliced cheese
Ingredients
Equipment
Method
- Collect your favorite sliced cheese, bread, and any additional toppings like tomatoes or avocado.
- Heat a non-stick skillet over medium heat. A warm pan is key for that perfect melt!
- Layer your sliced cheese between two slices of bread. Add toppings if you like!
- Place the sandwich in the skillet. Cook for about 3-4 minutes until golden brown.
- Carefully flip the sandwich. Cook for another 3-4 minutes until the cheese is gooey.
- Remove from the pan, slice in half, and enjoy your cheesy creation!
Recipe Snapshot
| Feature | Details |
|---|---|
| Category: | Snack |
| Cuisine: | American |
| Prep Time: | 5 minutes |
| Cook Time: | 10 minutes |
| Total Time: | 15 minutes |
| Dietary: | Vegetarian |
| Serves: | 4 |
| Best Served: | Warm |
Ingredients
- Sliced Cheese – A variety of cheeses can be used, such as cheddar, mozzarella, or gouda for different flavors.
- Non-Dairy Cheese – Great for vegan options, providing a similar texture and taste without dairy.
- Butter – Adds richness and helps achieve that perfect melt when cooking.
- Herbs and Spices – Enhance the flavor of your cheese; try garlic powder, paprika, or Italian seasoning.
- Crackers or Bread – Perfect accompaniments for serving sliced cheese as a snack or appetizer.
- Vegetables – Fresh veggies like bell peppers or cucumbers can add a crunchy contrast to the creamy cheese.
Ingredients with measurements will be right under the article in the recipe card.
How to Make the Recipe

Get ready to create a melty masterpiece with sliced cheese! Follow these steps for a deliciously cheesy experience.
Step 1: Gather Your Ingredients
Collect your favorite sliced cheese, bread, and any additional toppings like tomatoes or avocado.
Step 2: Preheat Your Pan
Heat a non-stick skillet over medium heat. A warm pan is key for that perfect melt!
Step 3: Assemble Your Sandwich
Layer your sliced cheese between two slices of bread. Add toppings if you like!
Step 4: Grill to Perfection
Place the sandwich in the skillet. Cook for about 3-4 minutes until golden brown.
Step 5: Flip and Melt
Carefully flip the sandwich. Cook for another 3-4 minutes until the cheese is gooey.
Step 6: Serve and Enjoy
Remove from the pan, slice in half, and enjoy your cheesy creation!
Pro Tips for Making the Recipe

• Choose high-quality sliced cheese for the best flavor and meltability.
• Layer different types of cheese for a more complex taste experience.
• Use a non-stick skillet to prevent sticking and ensure even melting.
• Keep the heat low to avoid burning the cheese while it melts.
• Experiment with adding herbs or spices for a unique twist on classic flavors.
How to Serve
- Layer sliced cheese on a fresh baguette with ripe tomatoes and basil for a classic Caprese twist.
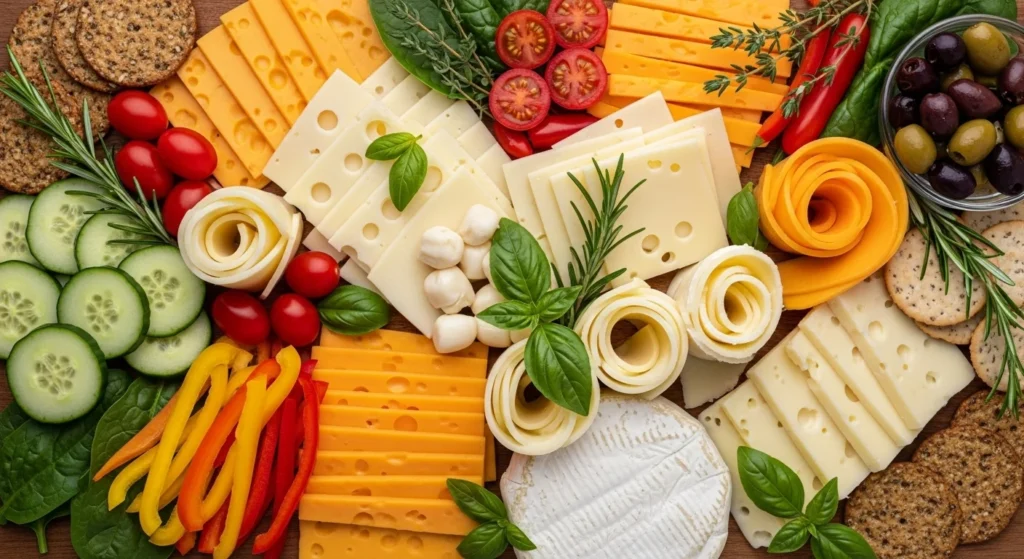
- Make a quick and easy cheese platter with assorted sliced cheeses, crackers, and seasonal fruits.
- Top your favorite grilled sandwich with melted sliced cheese for that gooey goodness.
- Pair sliced cheese with crunchy veggies like cucumbers and bell peppers for a refreshing snack.
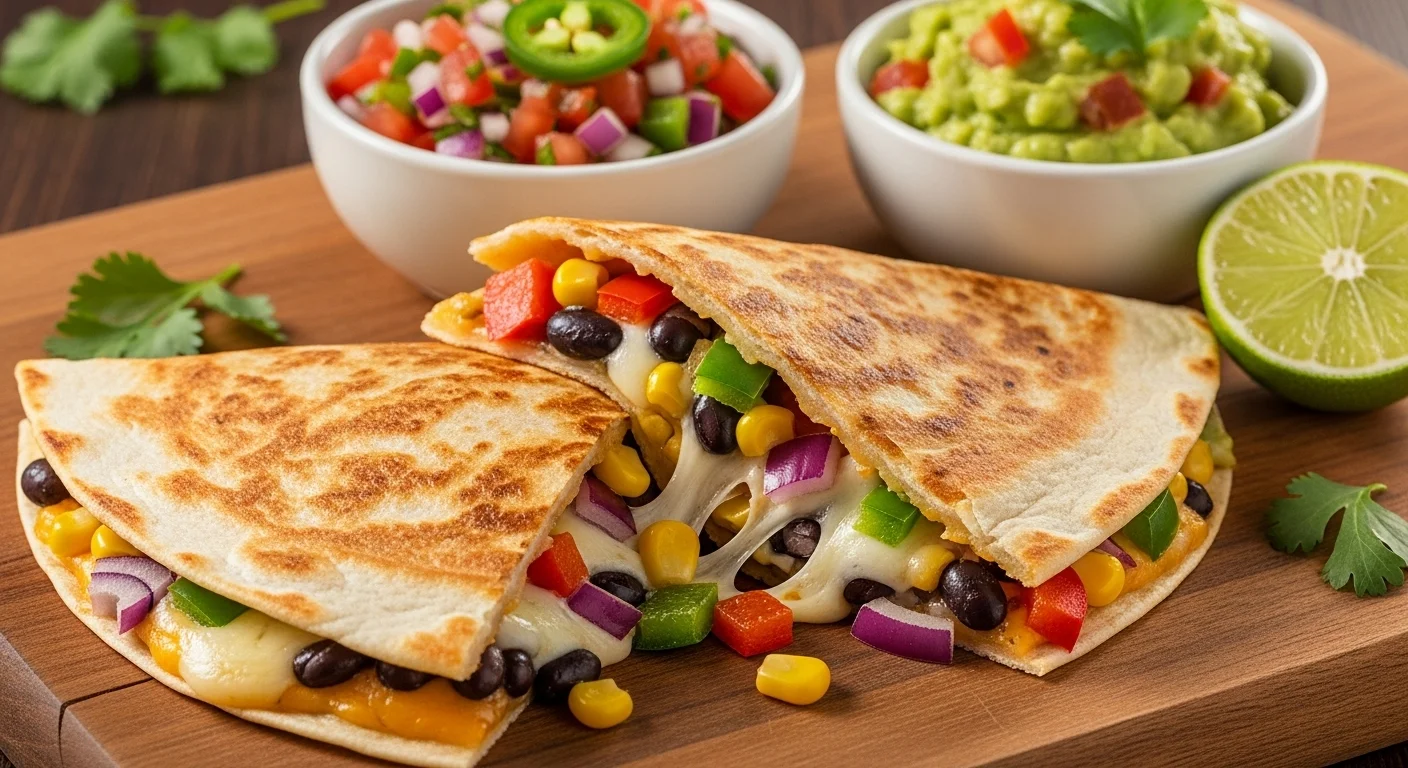
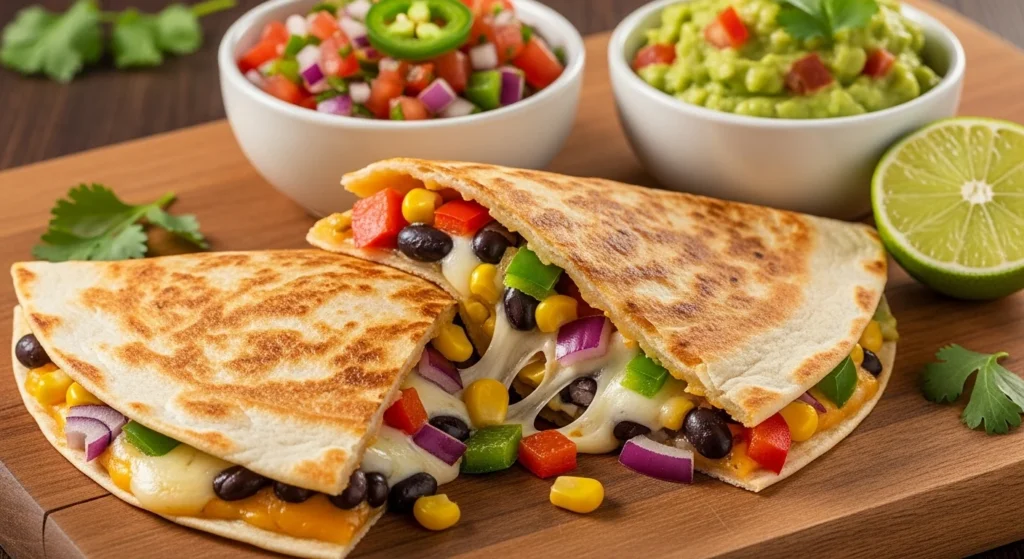
- Use sliced cheese to create a delicious quesadilla with beans and veggies, then grill until crispy.
- Wrap sliced cheese around apple slices or pears for a sweet and savory treat.
- Mix sliced cheese into a warm pasta dish for an extra creamy texture.
- Serve sliced cheese with hummus and pita chips for a delightful appetizer.
- Make mini cheese and veggie skewers for a fun party snack.
- Combine sliced cheese with avocado on toast for a nutritious breakfast option.
Make Ahead and Storage
Proper storage of sliced cheese ensures freshness and flavor. Here are some tips for storing leftovers, freezing, and reheating.
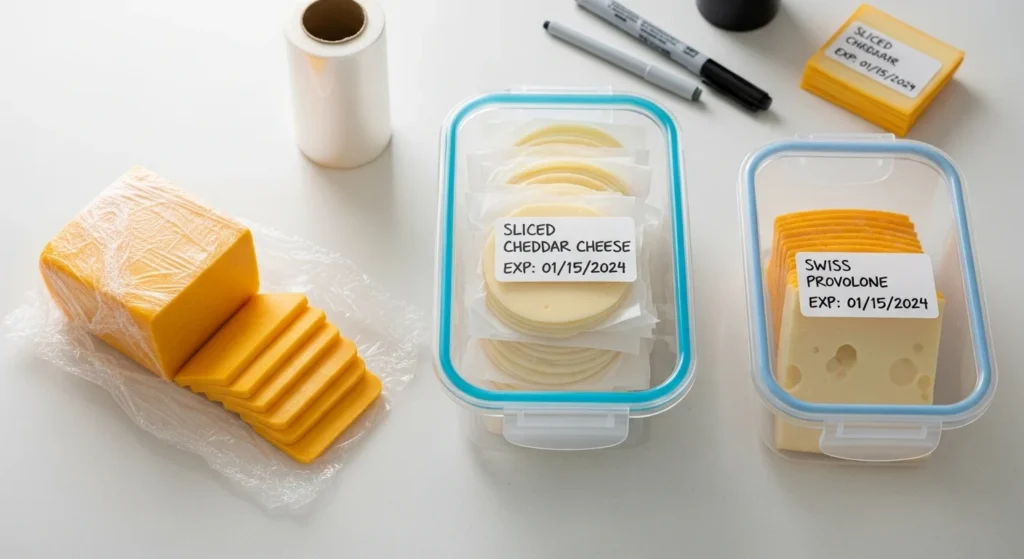
Storing Leftovers
To keep your sliced cheese fresh:
- Wrap slices tightly in plastic wrap.
- Store in an airtight container.
- Keep in the refrigerator for up to a week.
- Label with the date for easy tracking.
Freezing
For long-term storage, freezing is a great option:
- Place slices in a single layer on a baking sheet.
- Freeze until solid, then transfer to a freezer bag.
- Remove as much air as possible to prevent freezer burn.
- Use within three months for best quality.
Reheating
To enjoy your sliced cheese at its best:
- Allow cheese to come to room temperature before reheating.
- Use a microwave on low power for short intervals.
- Alternatively, melt in a pan over low heat.
- Avoid overheating to maintain texture.
FAQs
What types of sliced cheese are best for melting?
When it comes to melting, cheeses like mozzarella, cheddar, and gouda are top choices. They melt beautifully and create that gooey texture we all love. For a unique twist, try pepper jack for a spicy kick!
How should I store sliced cheese to keep it fresh?
To keep your sliced cheese fresh, store it in an airtight container or wrap it tightly in plastic wrap. This helps prevent it from drying out or absorbing other odors in the fridge. Enjoy it within a week for the best flavor!
Can I freeze sliced cheese?
Yes, you can freeze sliced cheese! Just make sure to separate the slices with parchment paper to prevent them from sticking together. Thaw it in the fridge before using for the best texture.
What are some creative ways to use sliced cheese?
Sliced cheese is incredibly versatile! Use it in sandwiches, melt it over burgers, or layer it in casseroles. You can also cut it into fun shapes for kids’ snacks or use it in charcuterie boards for a delightful presentation.
Final Thoughts
As you savor your deliciously melty sliced cheese creations, remember the joy of simple pleasures! Whether it’s a gooey grilled cheese or a cheesy snack platter, each bite is a warm hug for your taste buds. So gather your loved ones, share some laughs, and indulge in these delightful treats. You’ve got this—enjoy every cheesy moment
Hungry for more delicious creations? Browse our site for more recipes and endless inspiration to spark your next culinary adventure!