
Mini dessert ideas are the perfect way to indulge your sweet tooth without the guilt! Imagine delightful bite-sized treats like velvety chocolate mousse cups, creamy cheesecake bites topped with fresh berries, or zesty lemon tartlets that burst with flavor. Each mini creation is a little masterpiece, designed to bring joy to your taste buds. Whether you’re hosting a gathering or simply treating yourself, these enchanting desserts are sure to impress and satisfy. Get ready to explore a world of sweetness that’s as fun to make as it is to eat!
Table of Contents
Why You’ll Love This Recipe
- Perfectly portioned for guilt-free indulgence.
- Easy to make, even for beginner bakers.
- Versatile flavors to satisfy every sweet tooth.
- Great for parties, gatherings, or a cozy night in.
- Fun to customize with your favorite toppings!

mini dessert ideas
Ingredients
Equipment
Method
- Gather your ingredients and tools. Preheat your oven if needed. Let’s get started!
- Measure out all your ingredients. Make sure everything is fresh and ready to go!
- In a mixing bowl, combine your dry ingredients. Stir well to ensure even distribution.
- Slowly add your wet ingredients to the dry mix. Stir gently until just combined.
- Using a spoon or scoop, portion the mixture into mini dessert cups or molds.
- If baking, place in the oven and follow the recommended time. If chilling, pop them in the fridge.
- While they cool, prepare your toppings. Whip cream or chop fruits for a fresh touch!
- Once cooled, add your toppings to each mini dessert. Be creative and have fun!
- Present your mini desserts on a lovely platter. Enjoy with friends and family!
Recipe Snapshot
| Feature | Details |
|---|---|
| Category: | Dessert |
| Cuisine: | Various |
| Prep Time: | 15 minutes |
| Cook Time: | 30 minutes |
| Total Time: | 45 minutes |
| Dietary: | Vegetarian, Gluten-Free Options |
| Serves: | 4-6 |
| Best Served: | Chilled or at Room Temperature |
Ingredients
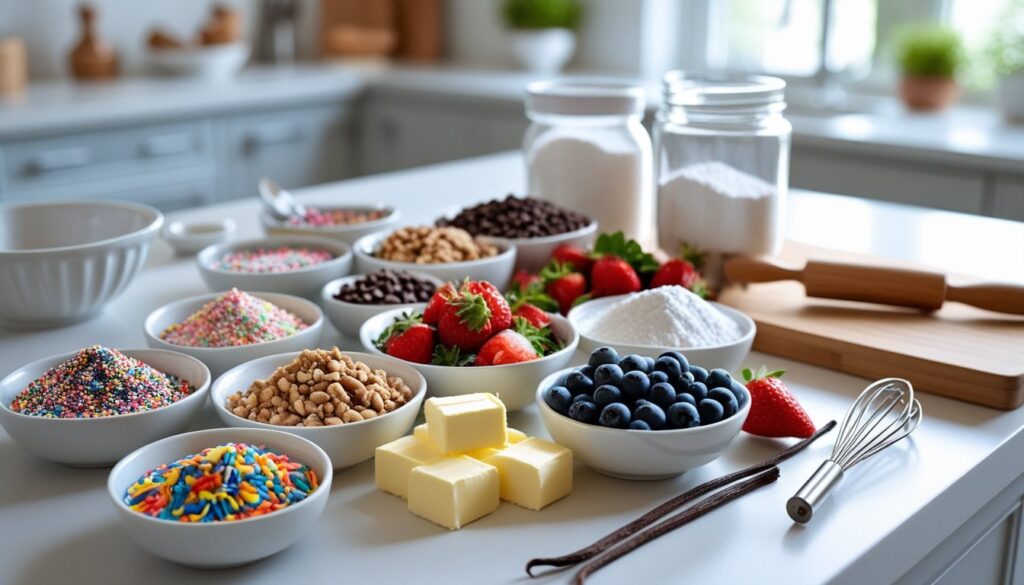
- All-purpose flour – for structure and texture in your desserts.
- Granulated sugar – to sweeten and enhance flavors.
- Baking powder – helps your mini treats rise and become fluffy.
- Unsalted butter – adds richness and moisture.
- Eggs – binds ingredients together and adds moisture.
- Vanilla extract – for a warm, sweet flavor boost.
- Milk – keeps your desserts moist and tender.
- Cocoa powder – for a rich chocolate flavor in your treats.
- Fresh fruit – adds natural sweetness and a pop of color.
- Whipped cream – a light and fluffy topping for added indulgence.
Ingredients with measurements will be right under the article in the recipe card.
How to Make the Recipe
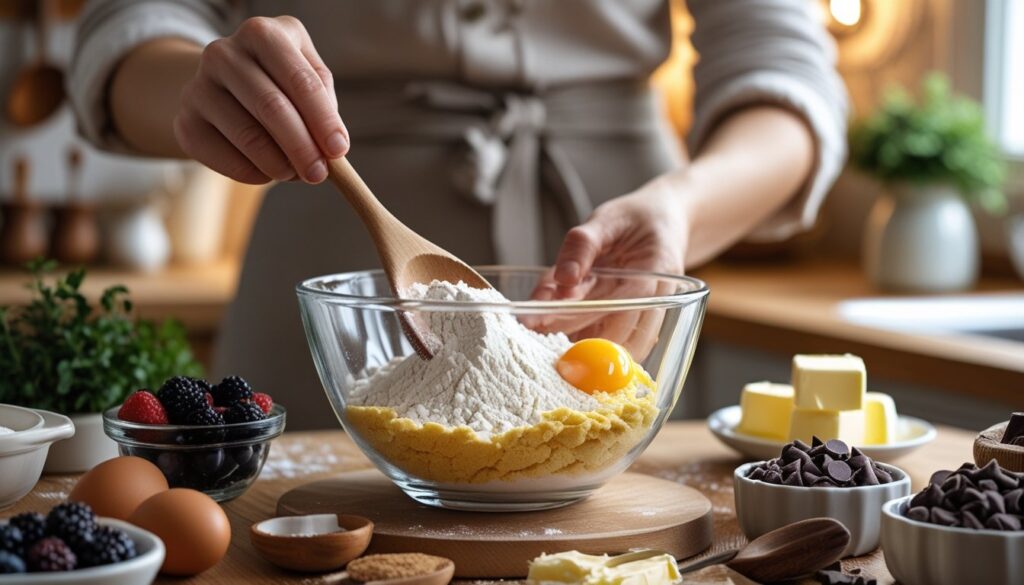
Gather your ingredients and tools. Preheat your oven if needed. Let’s get started!
Step 1: Prepare Your Ingredients
Measure out all your ingredients. Make sure everything is fresh and ready to go!
Step 2: Mix the Base
In a mixing bowl, combine your dry ingredients. Stir well to ensure even distribution.
Step 3: Add Wet Ingredients
Slowly add your wet ingredients to the dry mix. Stir gently until just combined.
Step 4: Portion the Mixture
Using a spoon or scoop, portion the mixture into mini dessert cups or molds.
Step 5: Bake or Chill
If baking, place in the oven and follow the recommended time. If chilling, pop them in the fridge.
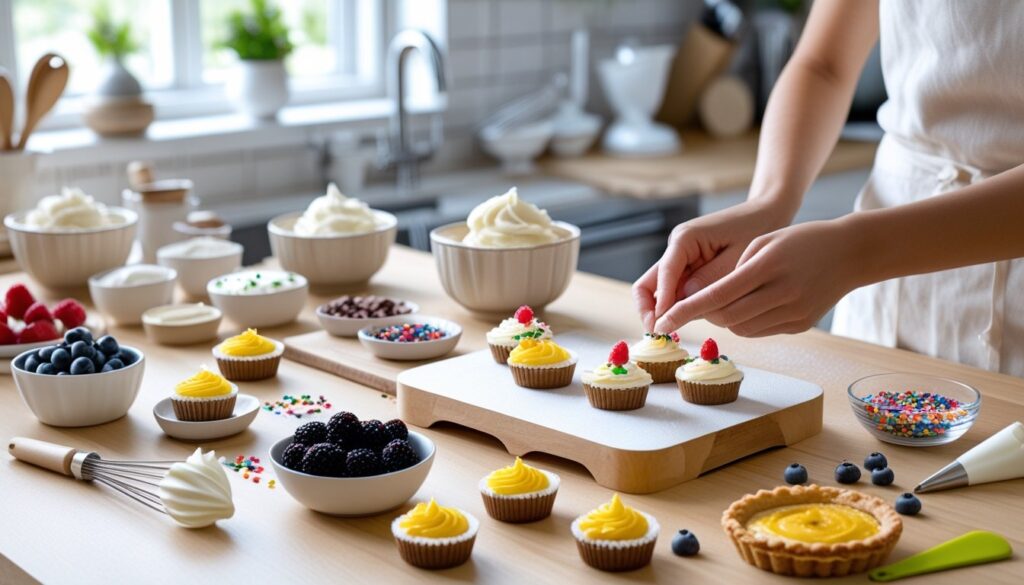
Step 6: Prepare Toppings
While they cool, prepare your toppings. Whip cream or chop fruits for a fresh touch!
Step 7: Assemble Your Desserts
Once cooled, add your toppings to each mini dessert. Be creative and have fun!
Step 8: Serve and Enjoy
Present your mini desserts on a lovely platter. Enjoy with friends and family!
Pro Tips for Making the Recipe
- Use a mix of textures: Combine creamy, crunchy, and chewy elements for a delightful experience.
- Chill your mini desserts: Refrigerating them for a bit enhances flavors and improves presentation.
- Get creative with toppings: Fresh fruits, nuts, or a drizzle of chocolate can elevate your treats.
- Portion control: Use small cups or jars to keep servings cute and manageable.
- Experiment with flavors: Don’t hesitate to swap ingredients to suit your taste preferences.
How to Serve
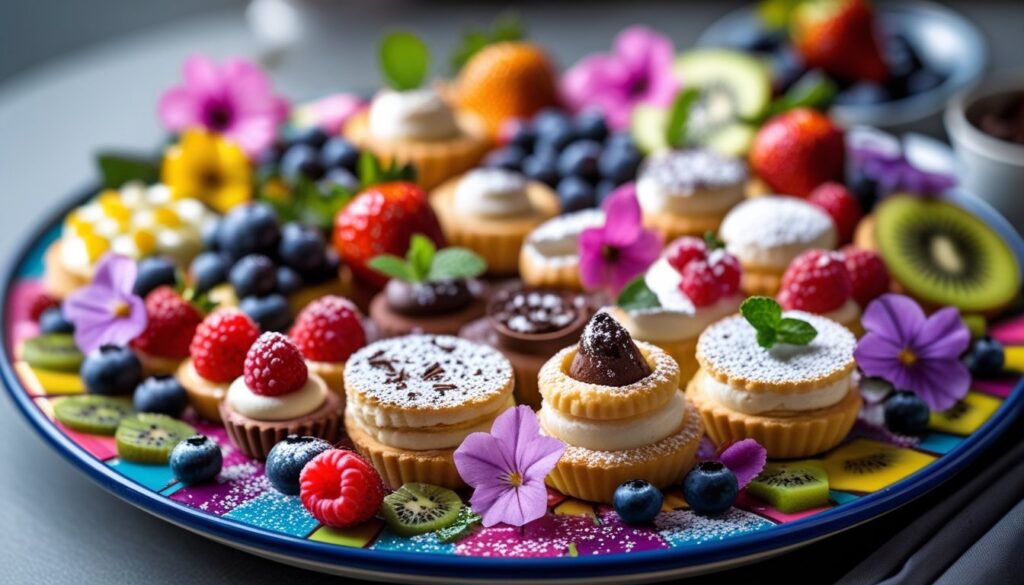
• Arrange mini desserts on a colorful platter for a vibrant display.
• Use small glass jars for individual servings, adding a rustic touch.
• Pair with fresh fruit for a refreshing contrast.
• Serve alongside a scoop of sorbet for a cool treat.
• Drizzle with chocolate or caramel sauce for extra indulgence.
• Offer a selection of mini desserts for a delightful tasting experience.
• Garnish with edible flowers for a pop of color.
• Provide small spoons or forks for easy enjoyment.
• Create a dessert bar where guests can mix and match their favorites.
• Pair with herbal teas or flavored sparkling water for a light beverage option.
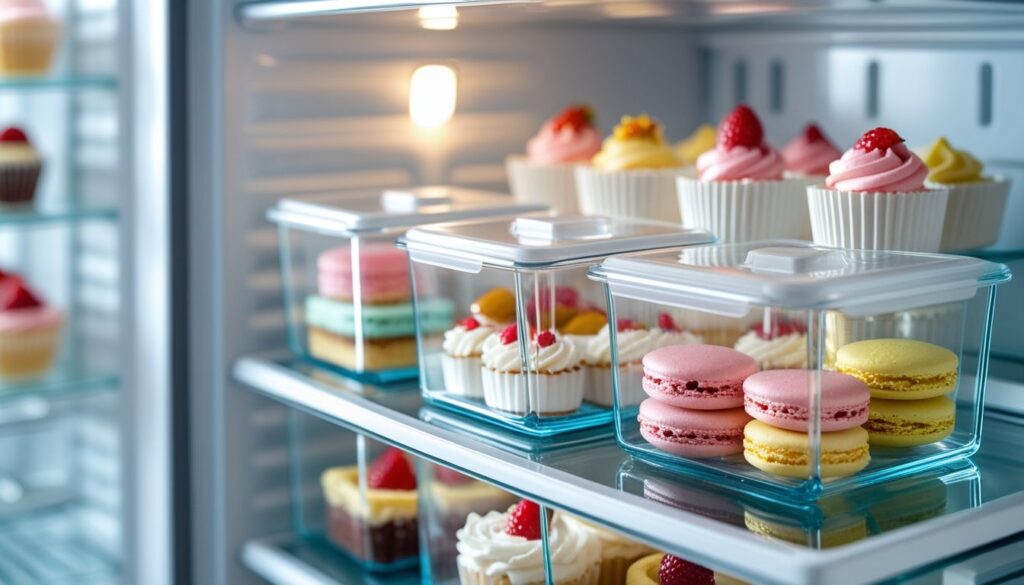
Make Ahead and Storage
Proper storage ensures your mini desserts stay fresh and delicious!
Storing Leftovers
- Allow desserts to cool completely before storing.
- Use airtight containers to prevent moisture loss.
- Label containers with the date for easy tracking.
- Store in the refrigerator for up to 3 days.
Freezing
- Wrap each dessert tightly in plastic wrap.
- Place wrapped desserts in a freezer-safe bag or container.
- Label with the date and type of dessert.
- Freeze for up to 2 months for best quality.
Reheating
- Thaw desserts in the refrigerator overnight before reheating.
- Use a microwave on low power for a few seconds.
- For baked goods, reheat in the oven at 350°F for 5-10 minutes.
- Check for warmth and enjoy immediately!
FAQs
What are some easy mini dessert ideas for beginners?
If you’re just starting out, try no-bake mini cheesecakes or chocolate mousse cups. These recipes require minimal baking skills and are sure to impress!
Can I make mini desserts ahead of time?
Absolutely! Many mini desserts can be prepared a day or two in advance. Just store them in the fridge to keep them fresh until you’re ready to serve.
What are some good substitutes for common dessert ingredients?
If you’re looking for alternatives, use Greek yogurt instead of sour cream, or applesauce in place of oil for a healthier twist. These swaps can enhance flavor and texture!
How can I make mini desserts more visually appealing?
Presentation is key! Use colorful toppings like fresh berries, edible flowers, or a drizzle of chocolate sauce to elevate the look of your mini desserts.
Final Thoughts
There you have it—10 delightful mini dessert ideas that are sure to bring a smile to your face! Whether you’re hosting a gathering or just treating yourself, these sweet bites are simple to make and oh-so-rewarding. So grab your ingredients, unleash your inner pastry chef, and enjoy every delicious moment. Remember, life is too short not to indulge in a little sweetness!
Hungry for more delicious creations? Browse our site for more recipes and endless inspiration to spark your next culinary adventure!